
An egg carton craft for those of us who are well, not crafty
I saved a few egg cartons thinking that when I was growing up we did some things with stuff like this: egg cartons, empty paper towel and toilet paper rolls, milk jugs. Surely I'd find something simple to do with them.
Then I googled "easy egg carton crafts". Let me tell you, those folks at google really overestimate the amount of work I'm willing to put into something my toddler is eventually going to crush. Every single "easy" or "simple" egg carton craft in my search results involved paint. PAINT, ya'll. The last time I used paint was to paint a room I was renting in my 20's bright yellow so that it wouldn't feel like the size of well, an egg carton.
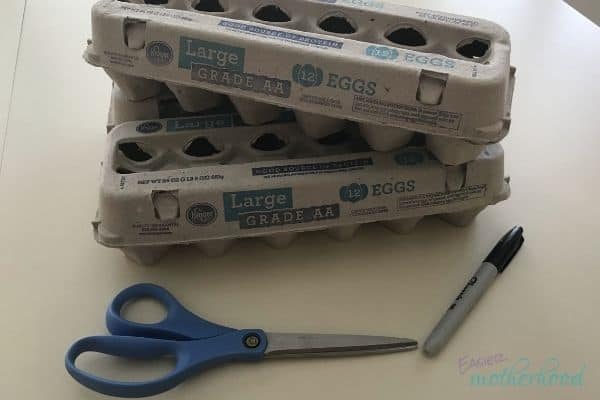
So this is my idea of an easy egg carton craft. We'll be using 3 things today: egg cartons, scissors, and a sharpie. You can dress them up more if that's you, by all means. Colorful sharpies would make this a little more fun without being more work, but I just grabbed the black one I already had on hand. You know, the one I usually use for labeling freezer bound food.
So, what EXACTLY are we doing?
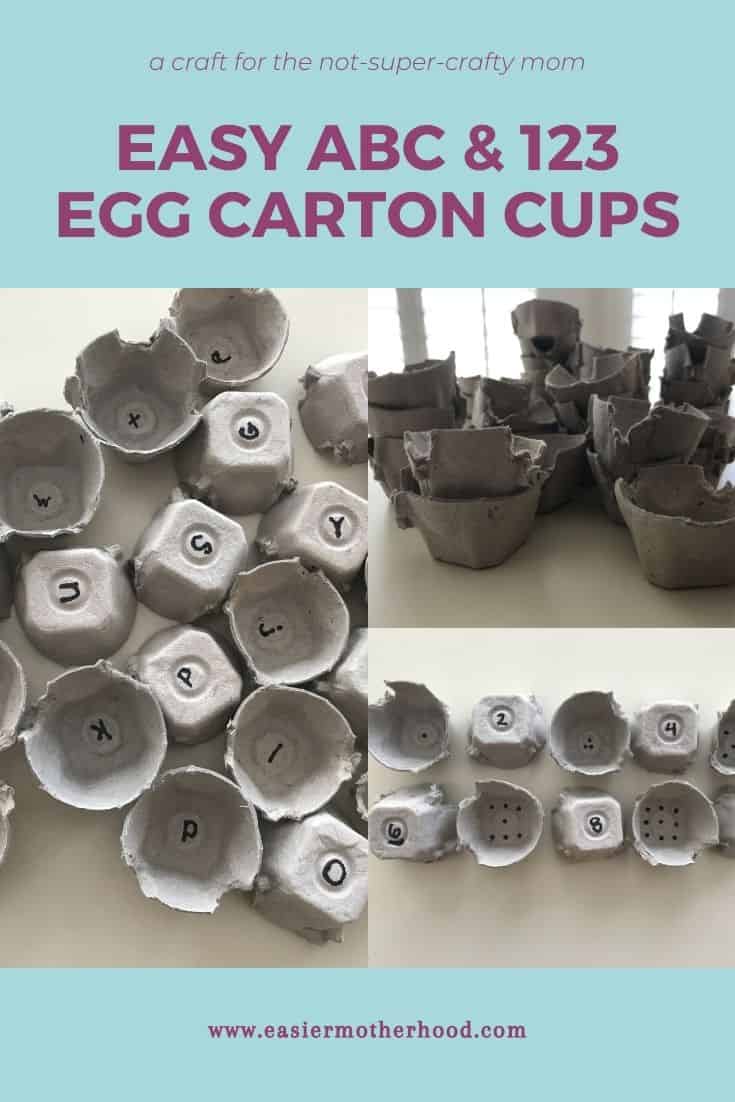
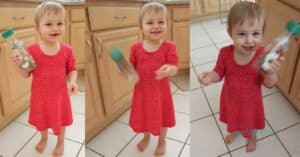
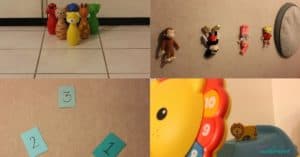
The short version is this: cut up 3 egg cartons that each hold 12 eggs. That yields 36 egg cups, which is a fantastic number. Why is it a fantastic number? Because there are 26 letters in the alphabet, so 36 cups gives you enough to do all of them PLUS enough cups to do numbers one through ten. Once you have your 36 cups cut up, label them with the sharpie, and then let your kid go nuts with them practicing their letters and numbers. Or just lining them up on your kitchen table like my child.
The long version is below. I discovered doing this that not all methods of egg carton cutting are created equal. With that in mind, most of the remaining post is detailing step by step the way I found to be easiest on my hands, my scissors, and my patience. I hope you find it helpful, and that it saves you some stress!
Step 1:
Get everything together. If your particular toddler will try and steal your scissors, it can be helpful to go ahead and distract them at this time with goldfish crackers or Daniel Tiger. I shamelessly kept mine latched into his booster seat with both while doing this.
Step 2:
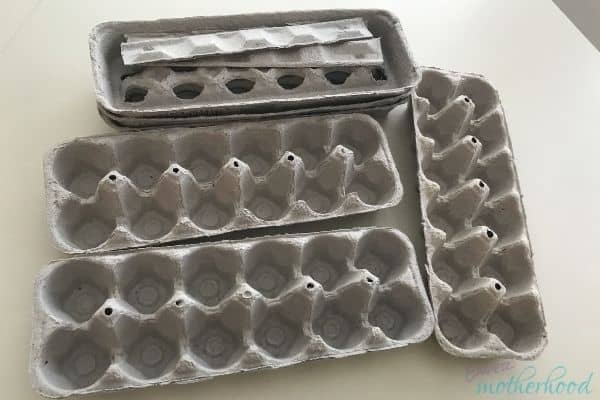
Cut the top half off of your egg cartons. While we're at it, ditch that little flap that connects them on the other side. By the way, that little flap makes almost as good of a cat toy as the pull tab from a pizza box. Only the best for our cat, obviously.
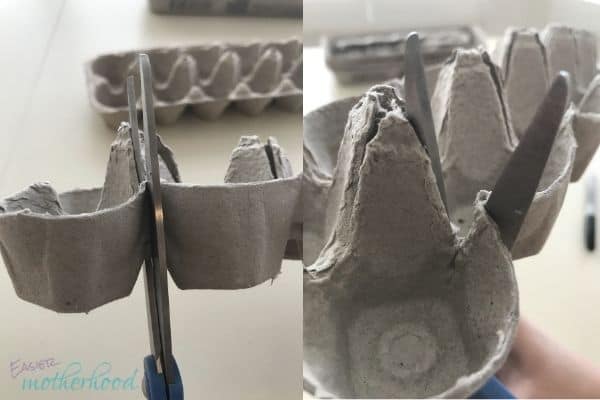
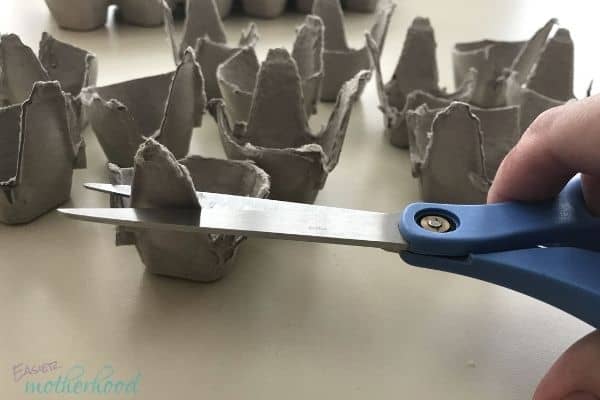
Step 3:
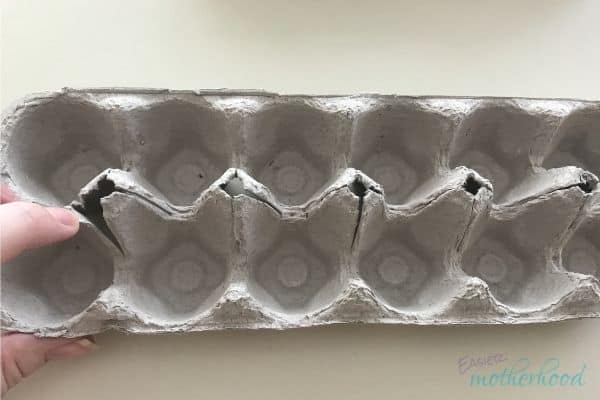
From the top side, insert the scissors into the middle of the high peaks in the middle of the egg carton structure, then cut all four sides. You can see me pulling back one of the quarters in the picture here.
Step 4:
Take your scissors and go around the outer edge, cutting away the top portion of the exterior with all those smaller peaks. For reference, the second picture here is the in-progress carton sitting inside one that I had only completed step 2 on so far.


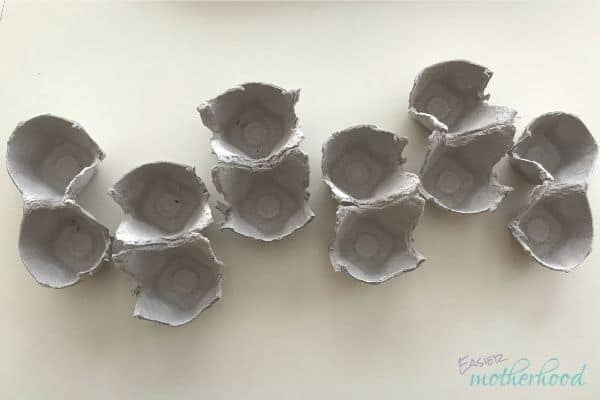
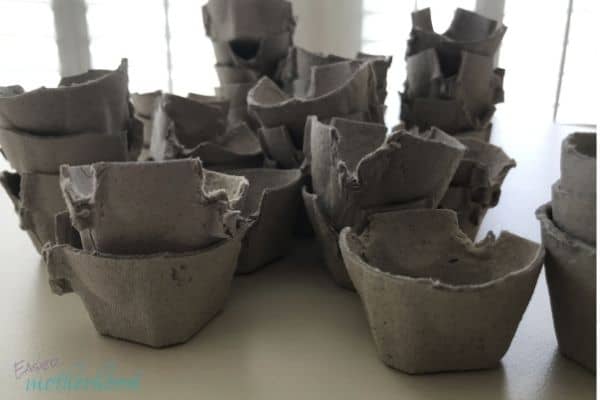
Step 5:
From below, stick one of the scissor shears through the high peak, and the other on the curve of the long side to cut. Continue until you have 6 sets of 2 cups like in the second photo.
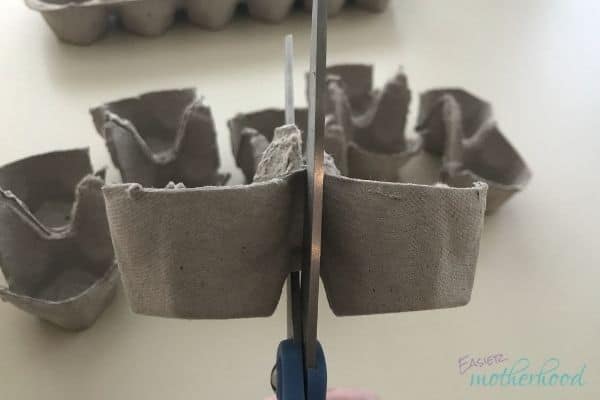
Step 6:
Cut each pair of cups in the middle to split them. Now you have 12 ugly, but fully separated cups!
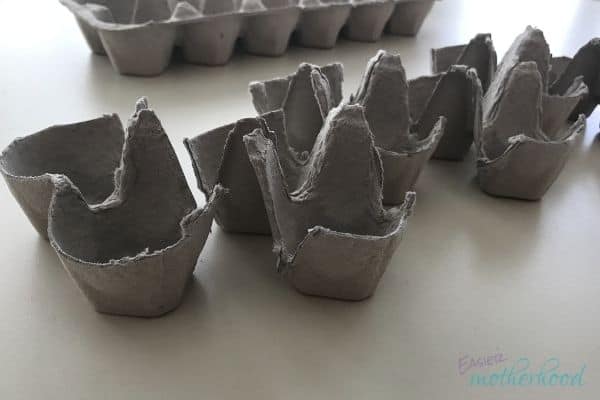
Step 7:
Go ahead and trim down the sides of each cup so that they are reasonably even. Remember that your kid is going to destroy them at some point, so they don’t need to look like something out of a magazine. Mine certainly don’t!
Step 8:
Grab that sharpie!
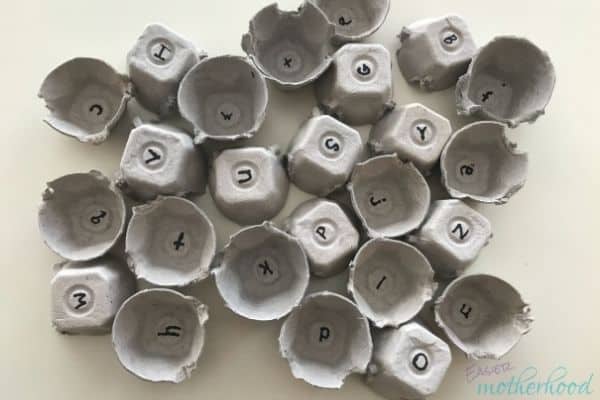
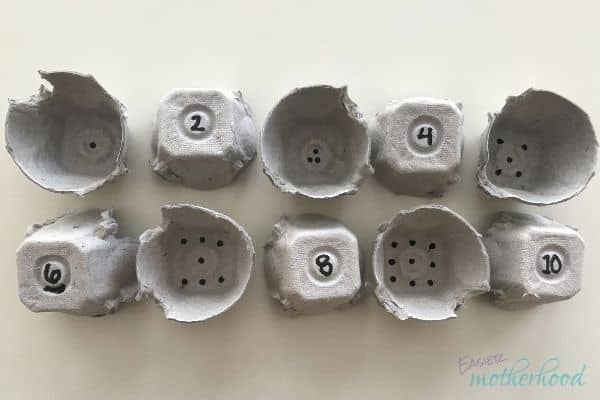
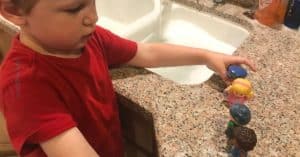
I did lowercase letters on the inside with uppercase on the outside for letters, along with numbers on the outside and the corresponding number of dots on the inside for numbers. The options are only limited by your ideas though! For instance, colors would be easy to do with colored markers or crayons. Easy sight words would be great too. Think of these as 3-D flash cards and put anything you want on them.
Leave a Reply